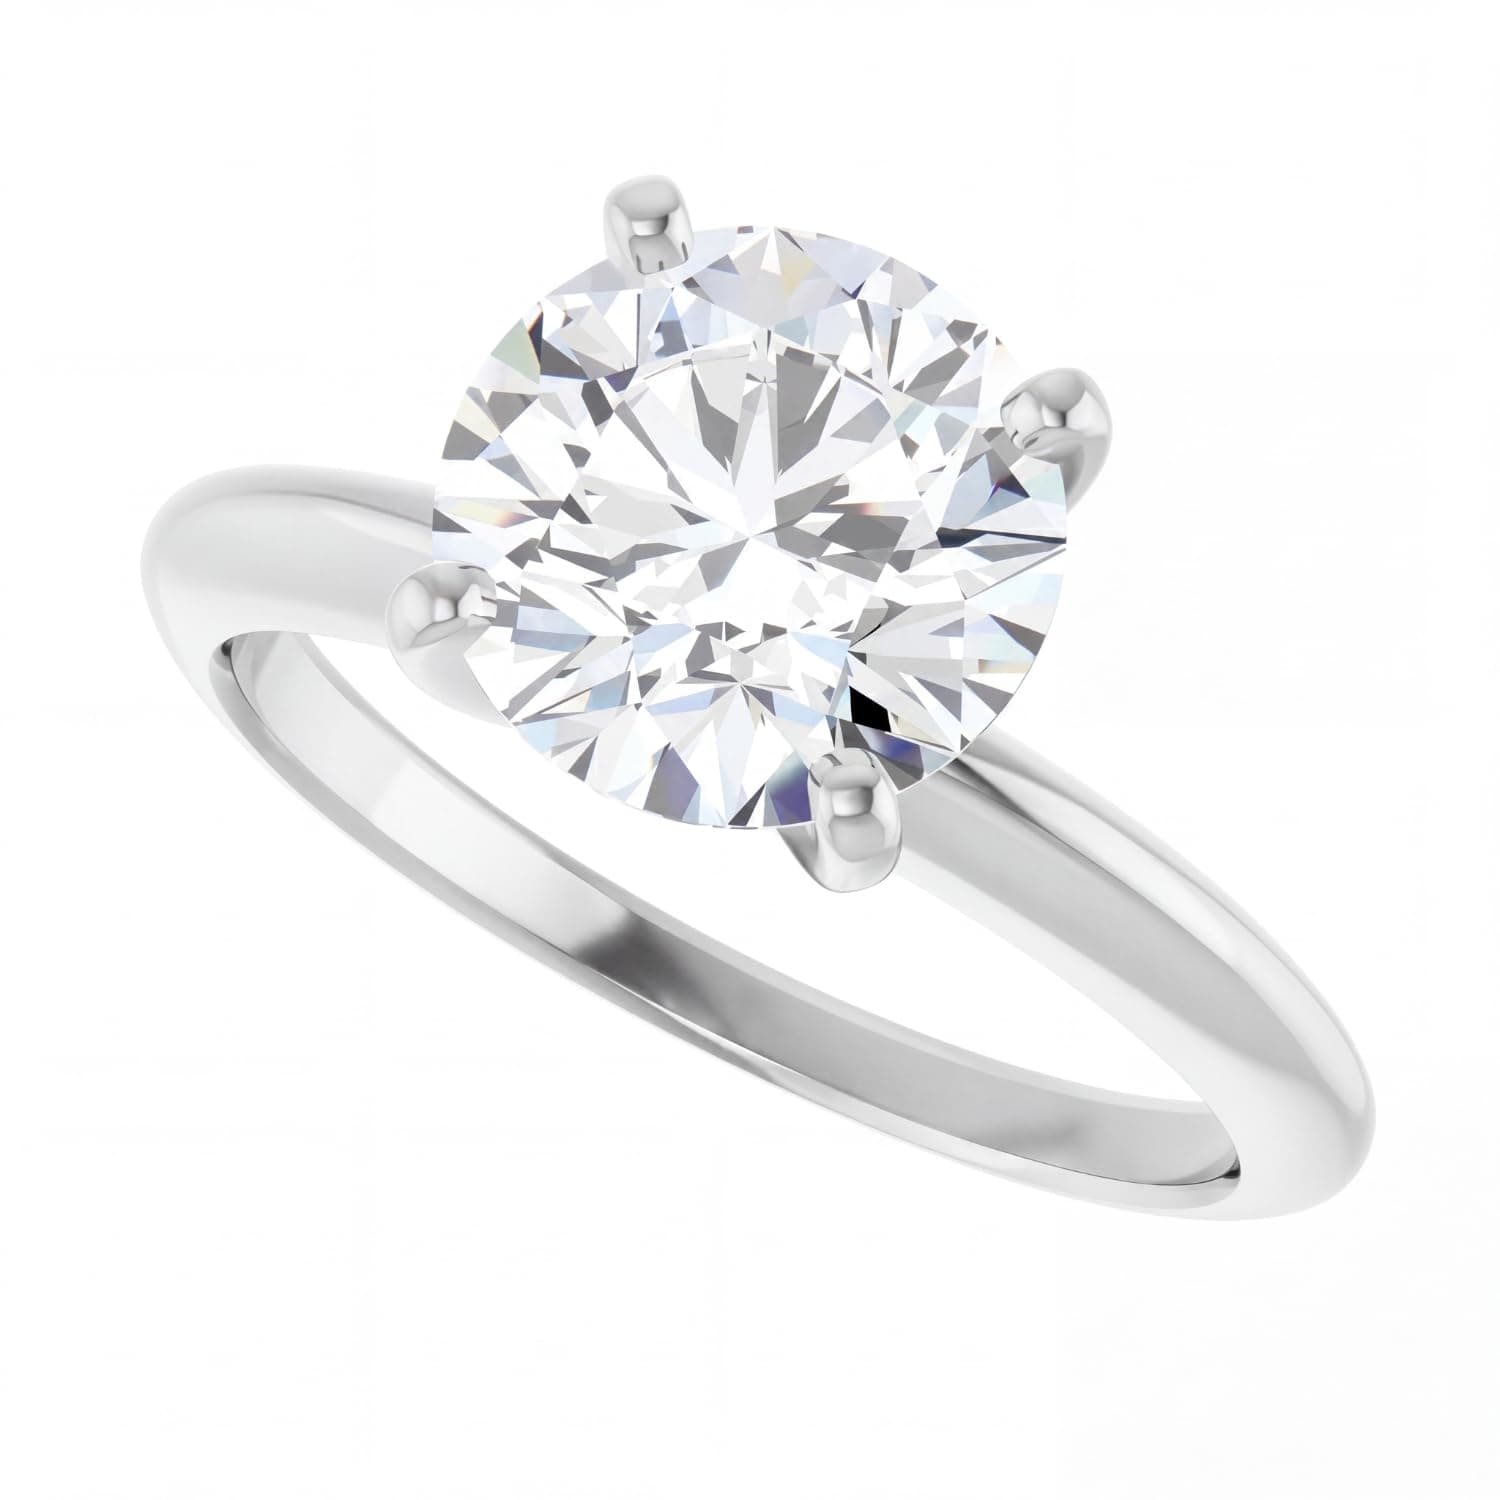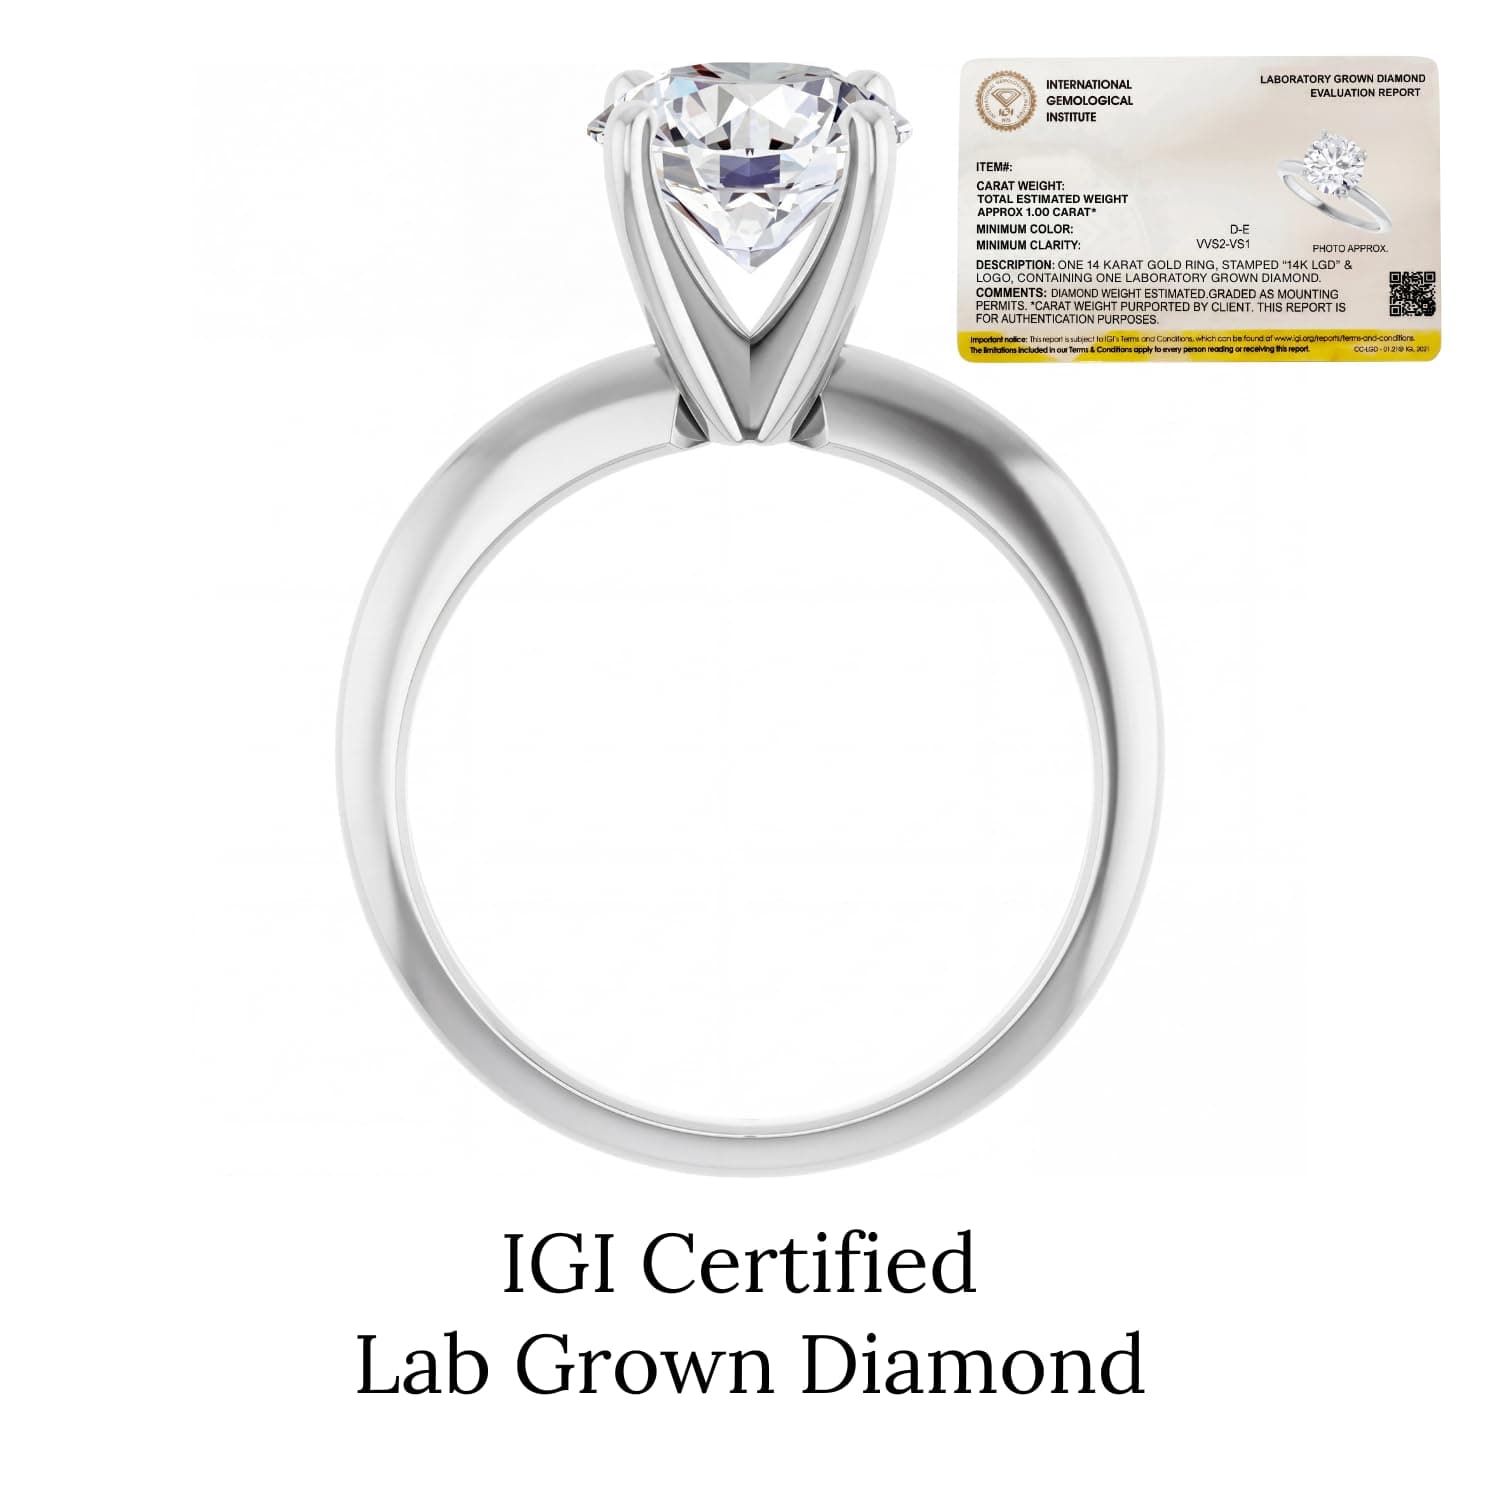
Once a diamond is chosen, the next question is what will hold it. A custom ring begins not with metal but with a drawing — today, a three-dimensional CAD rendering that lets you see the finished piece from every angle before a single gram of gold is cast. It is the step that turns an idea into something you can examine, adjust, and approve while changes still cost nothing but time.
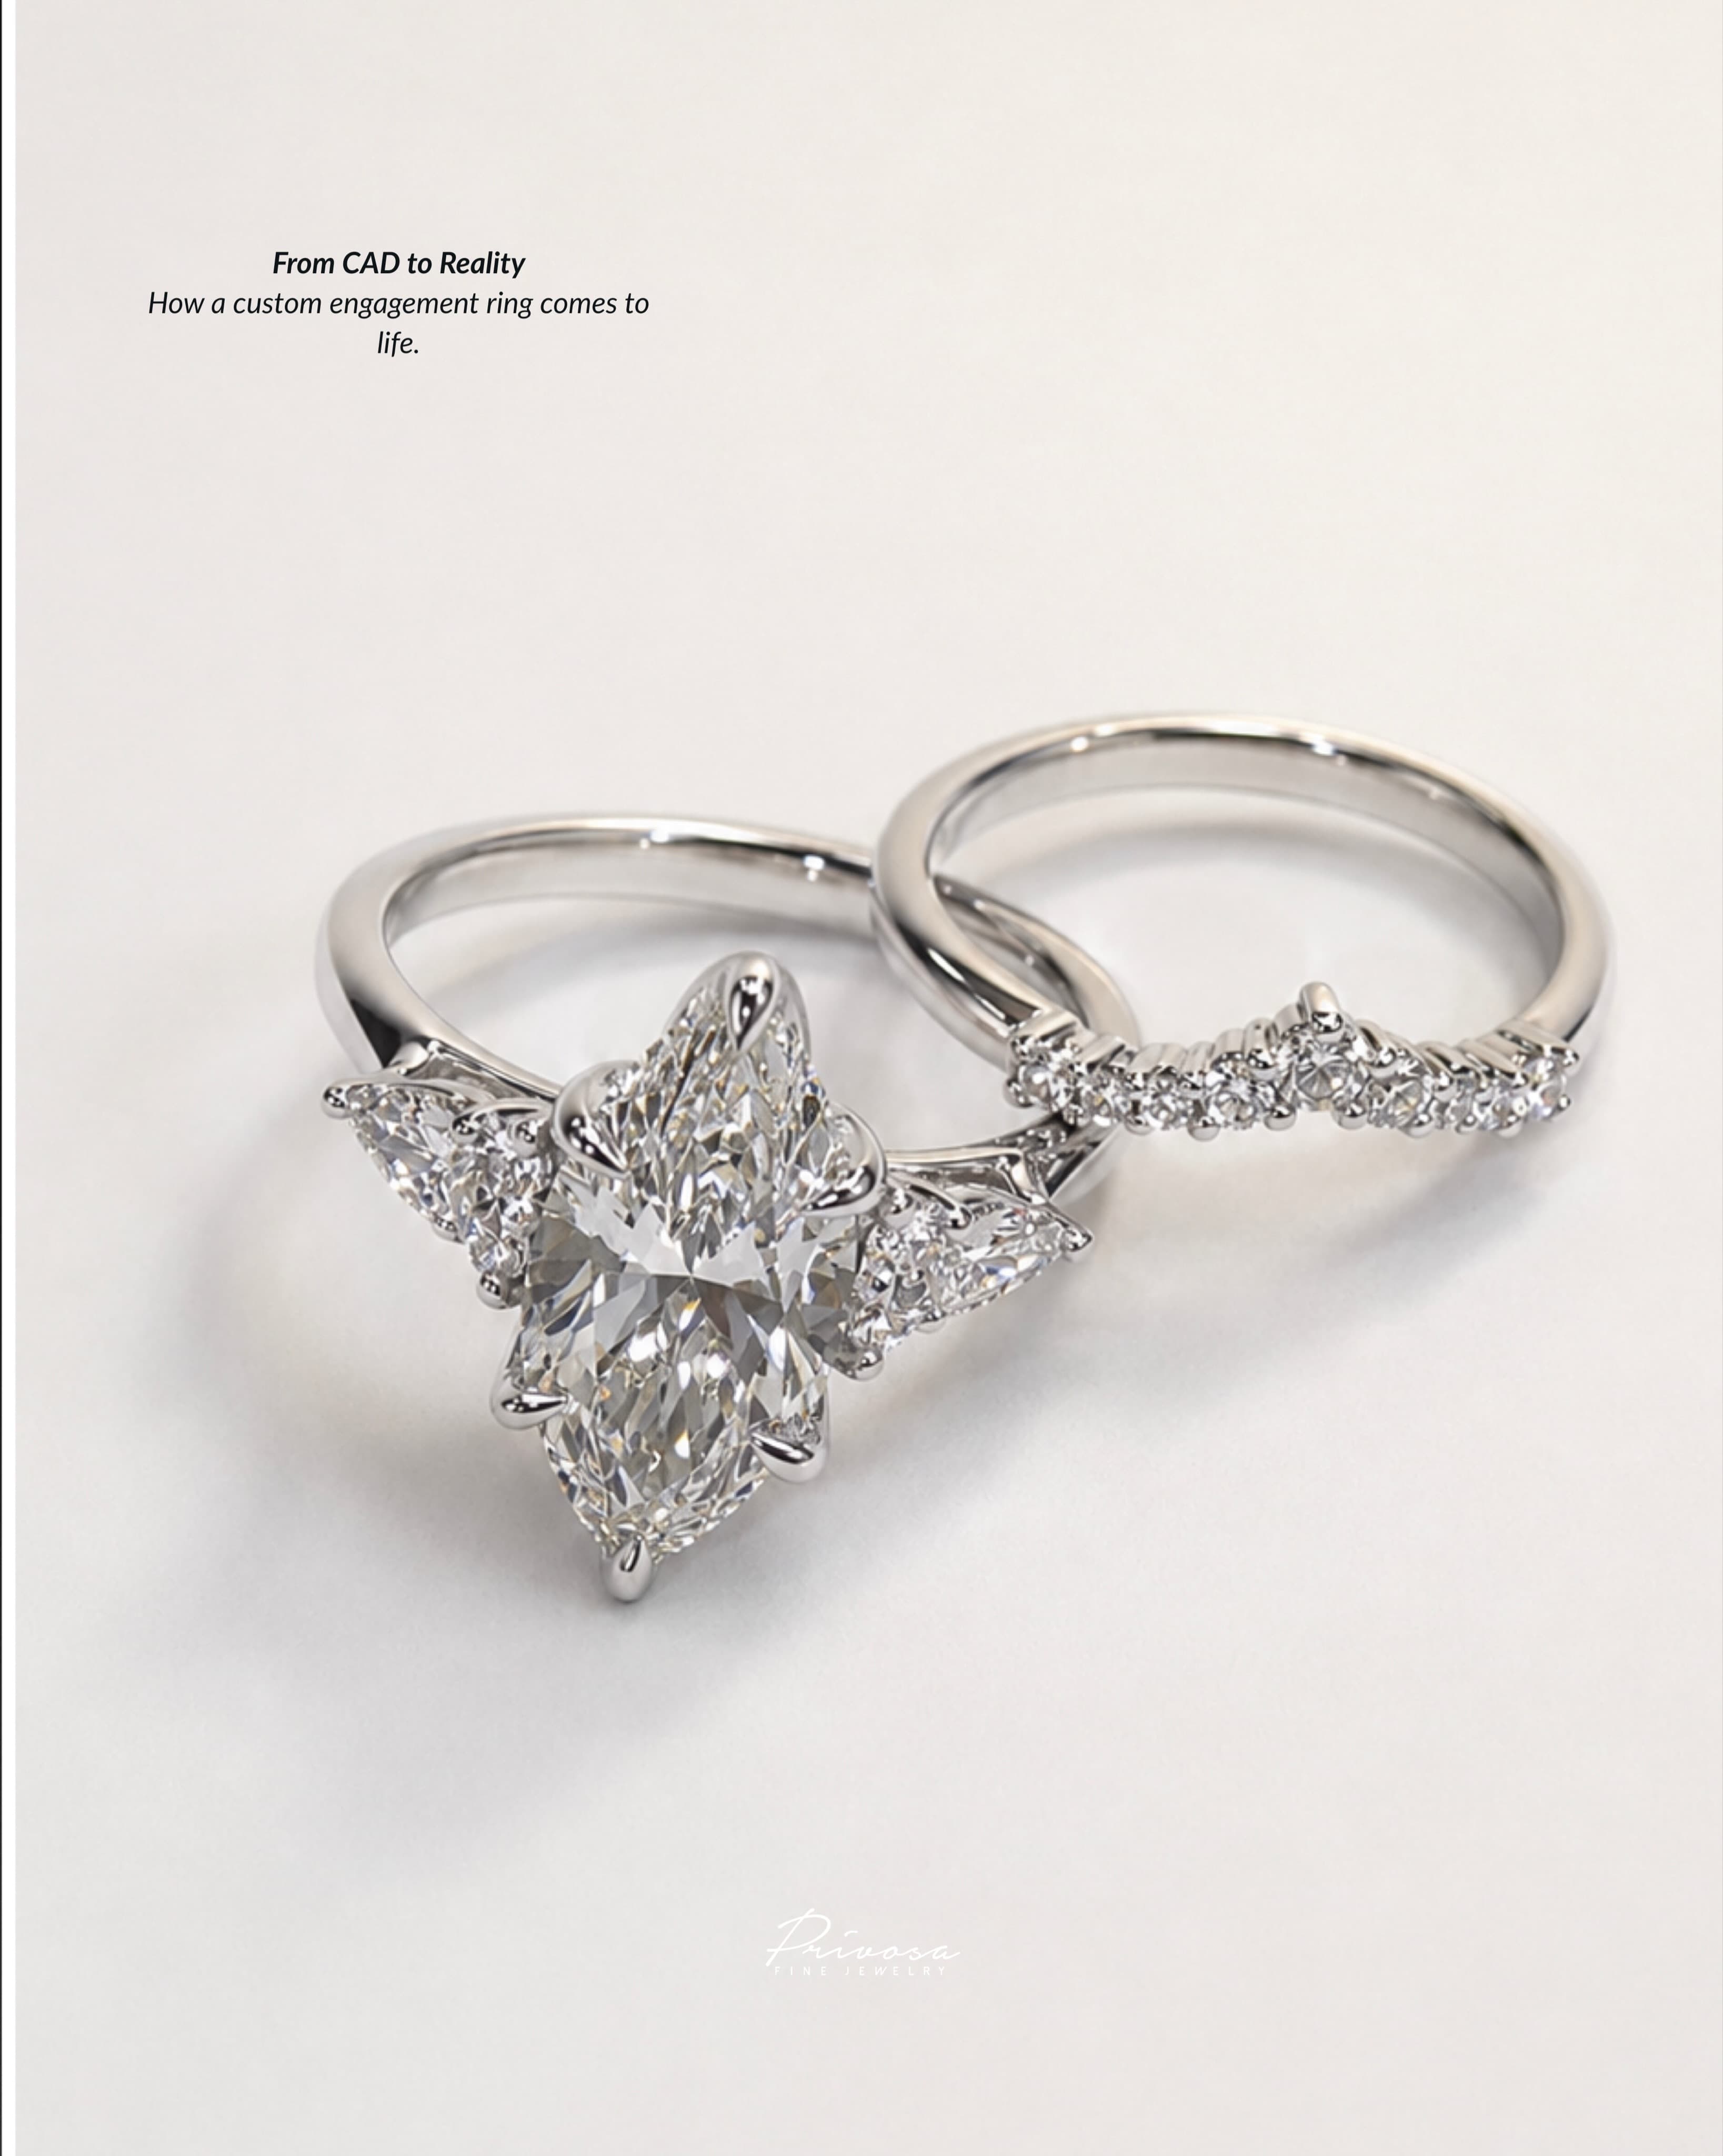
What follows is largely handwork. Once the design is approved, the ring is cast, the diamonds are set by hand, the metal is polished, and the piece is inspected before it is ready to wear. This guide walks through that journey — from the CAD file to the finished ring — so you know what each stage is for and what to look at along the way.
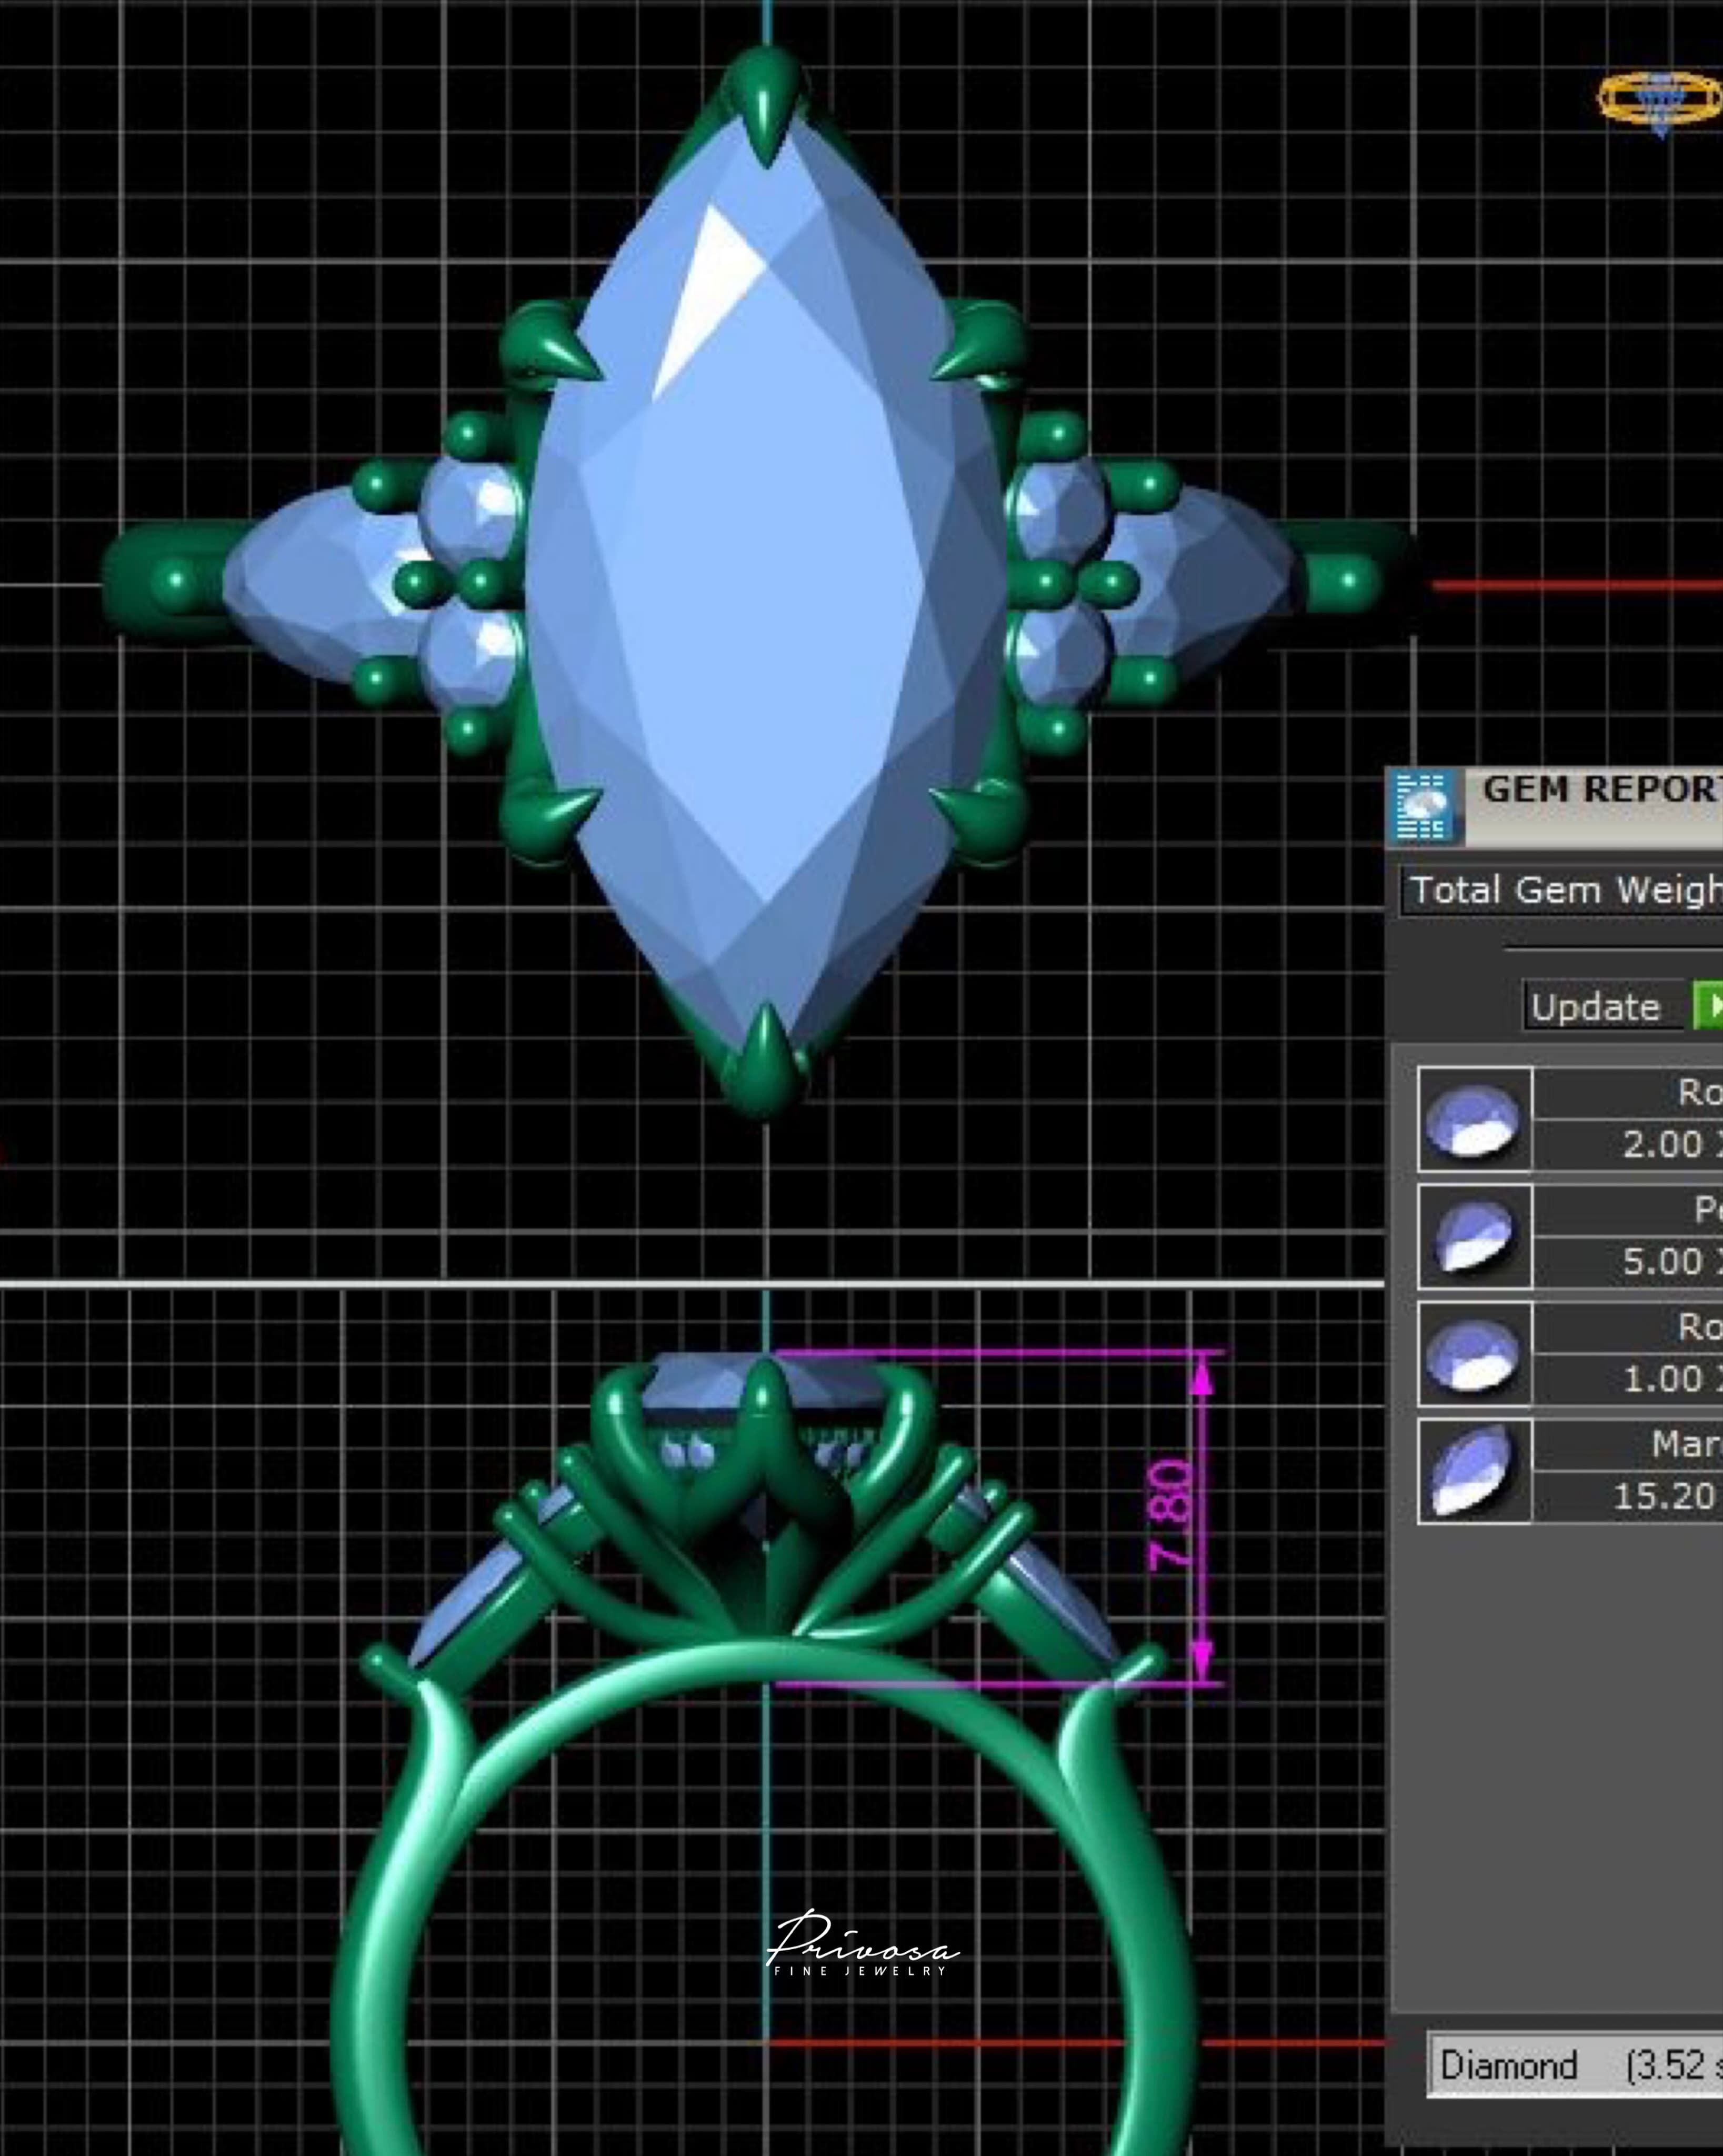
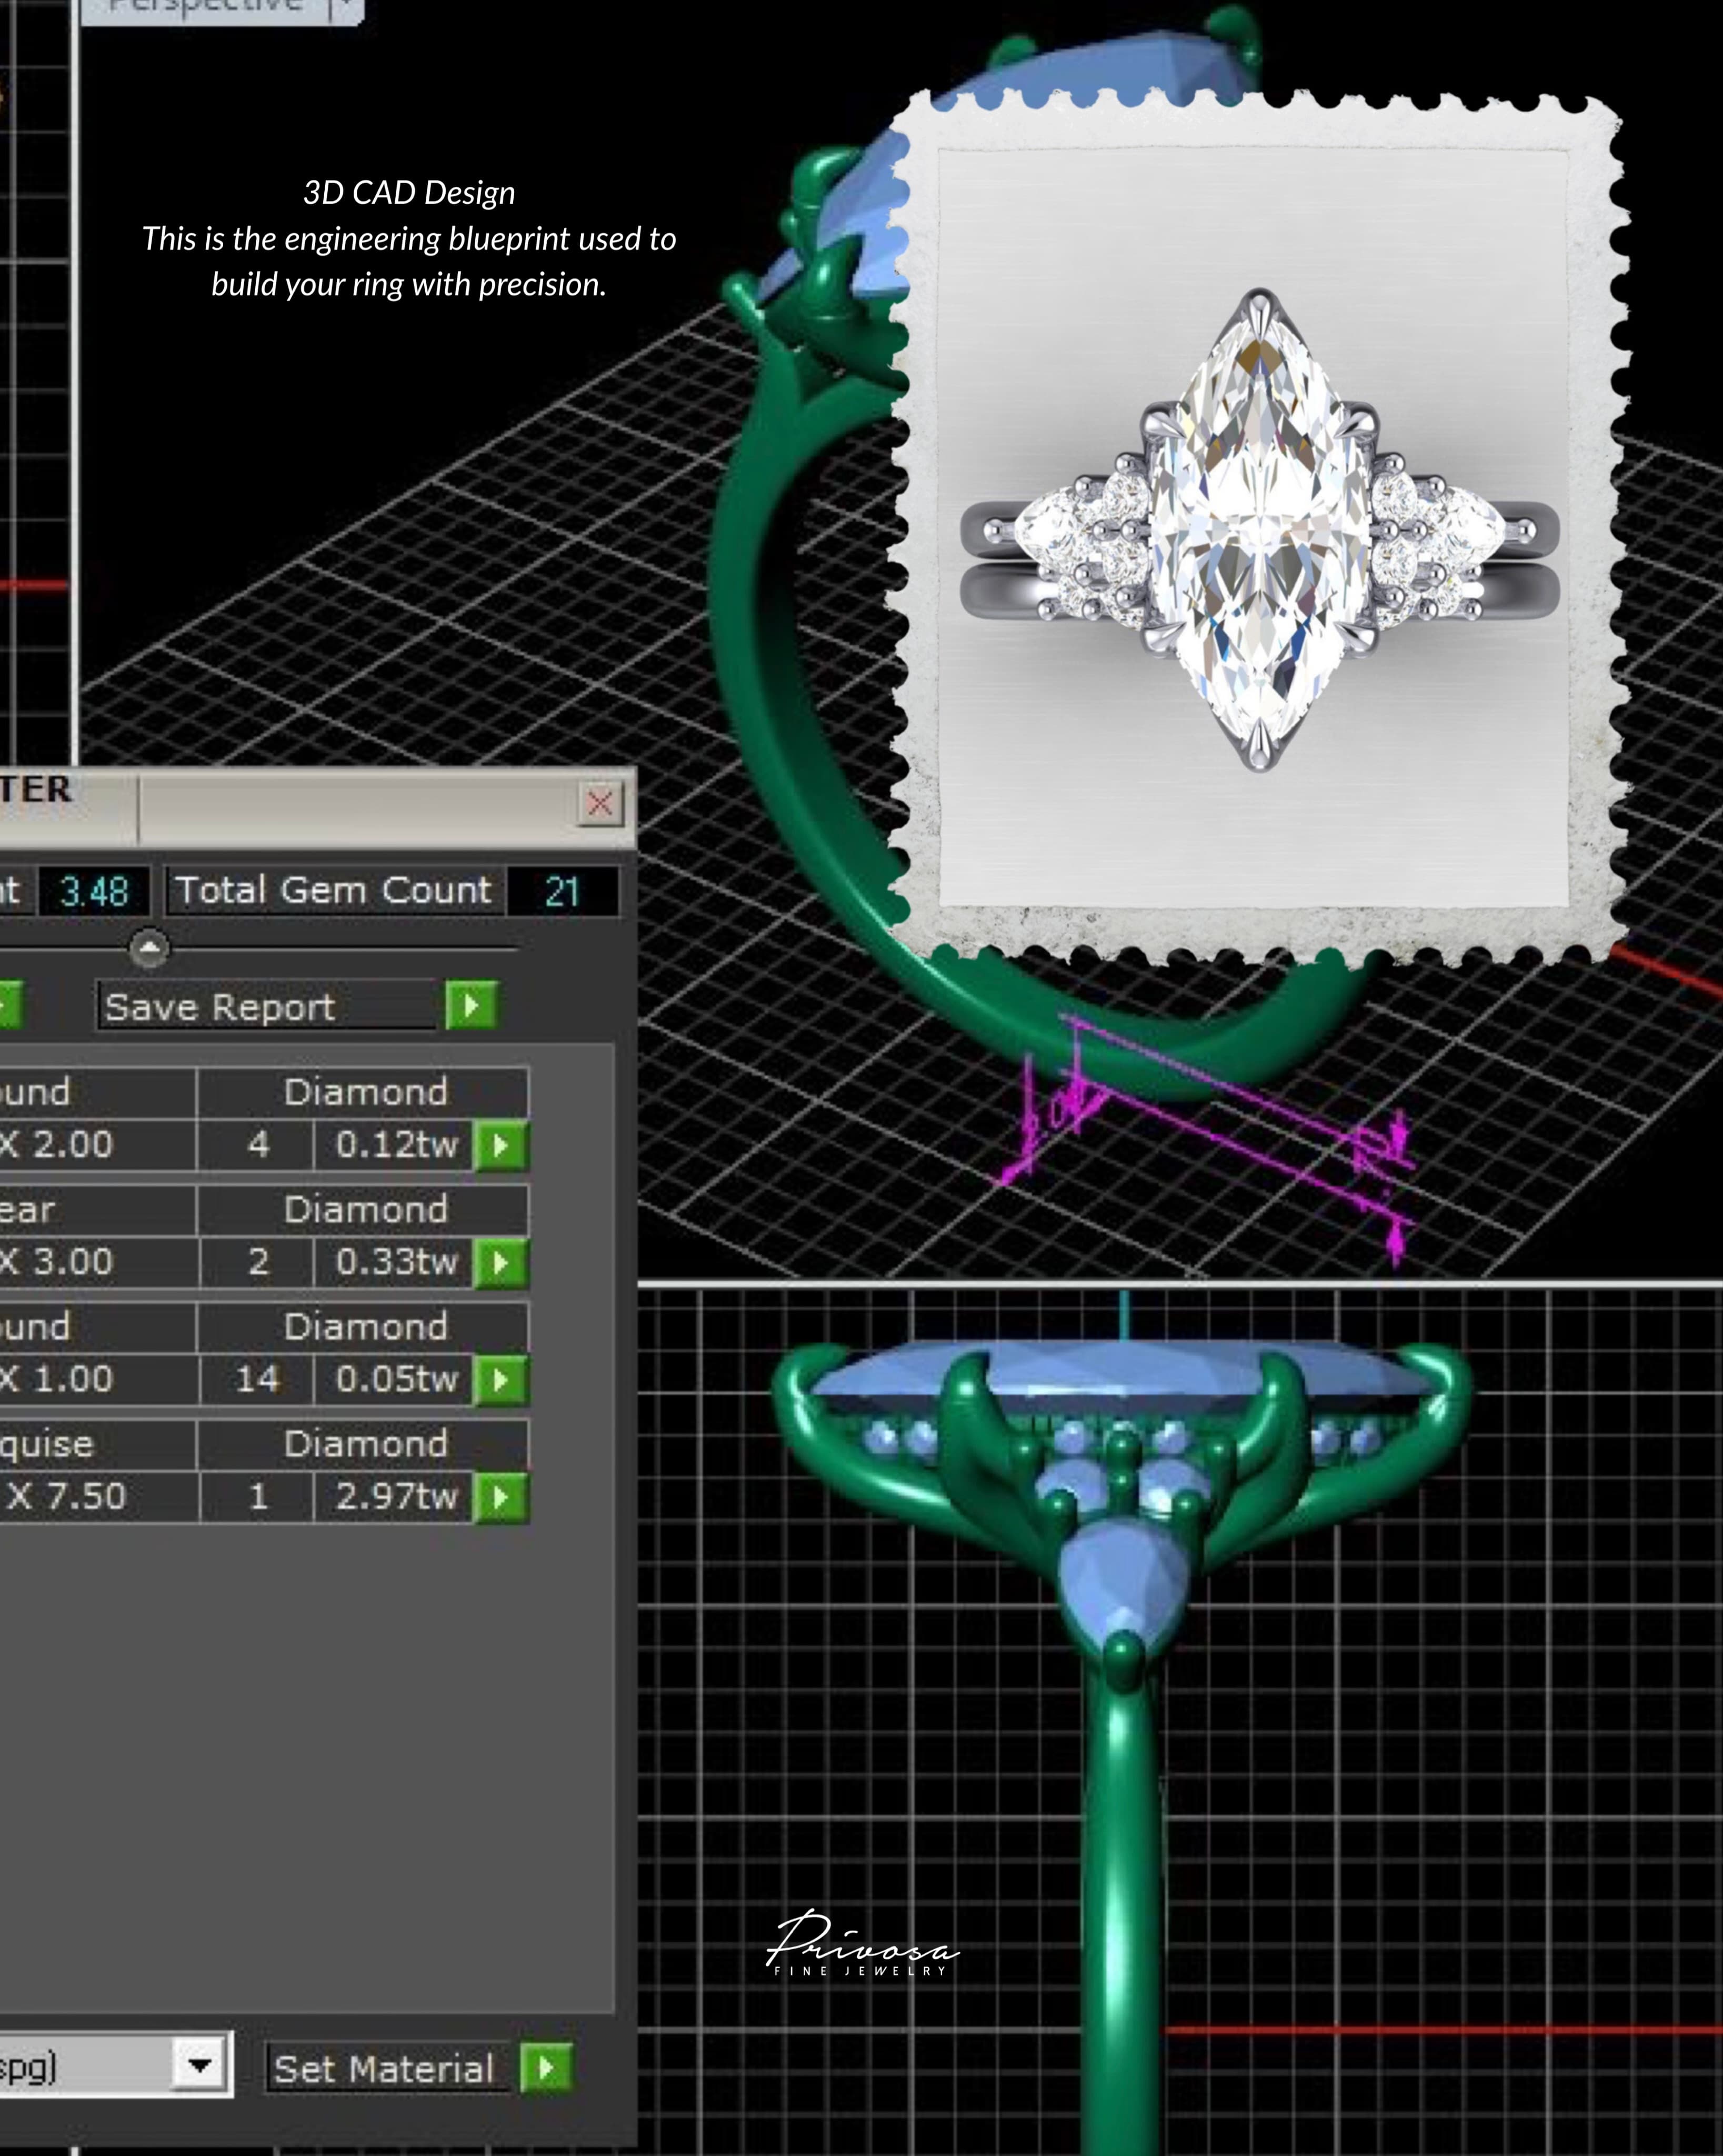
What a 3D CAD rendering is
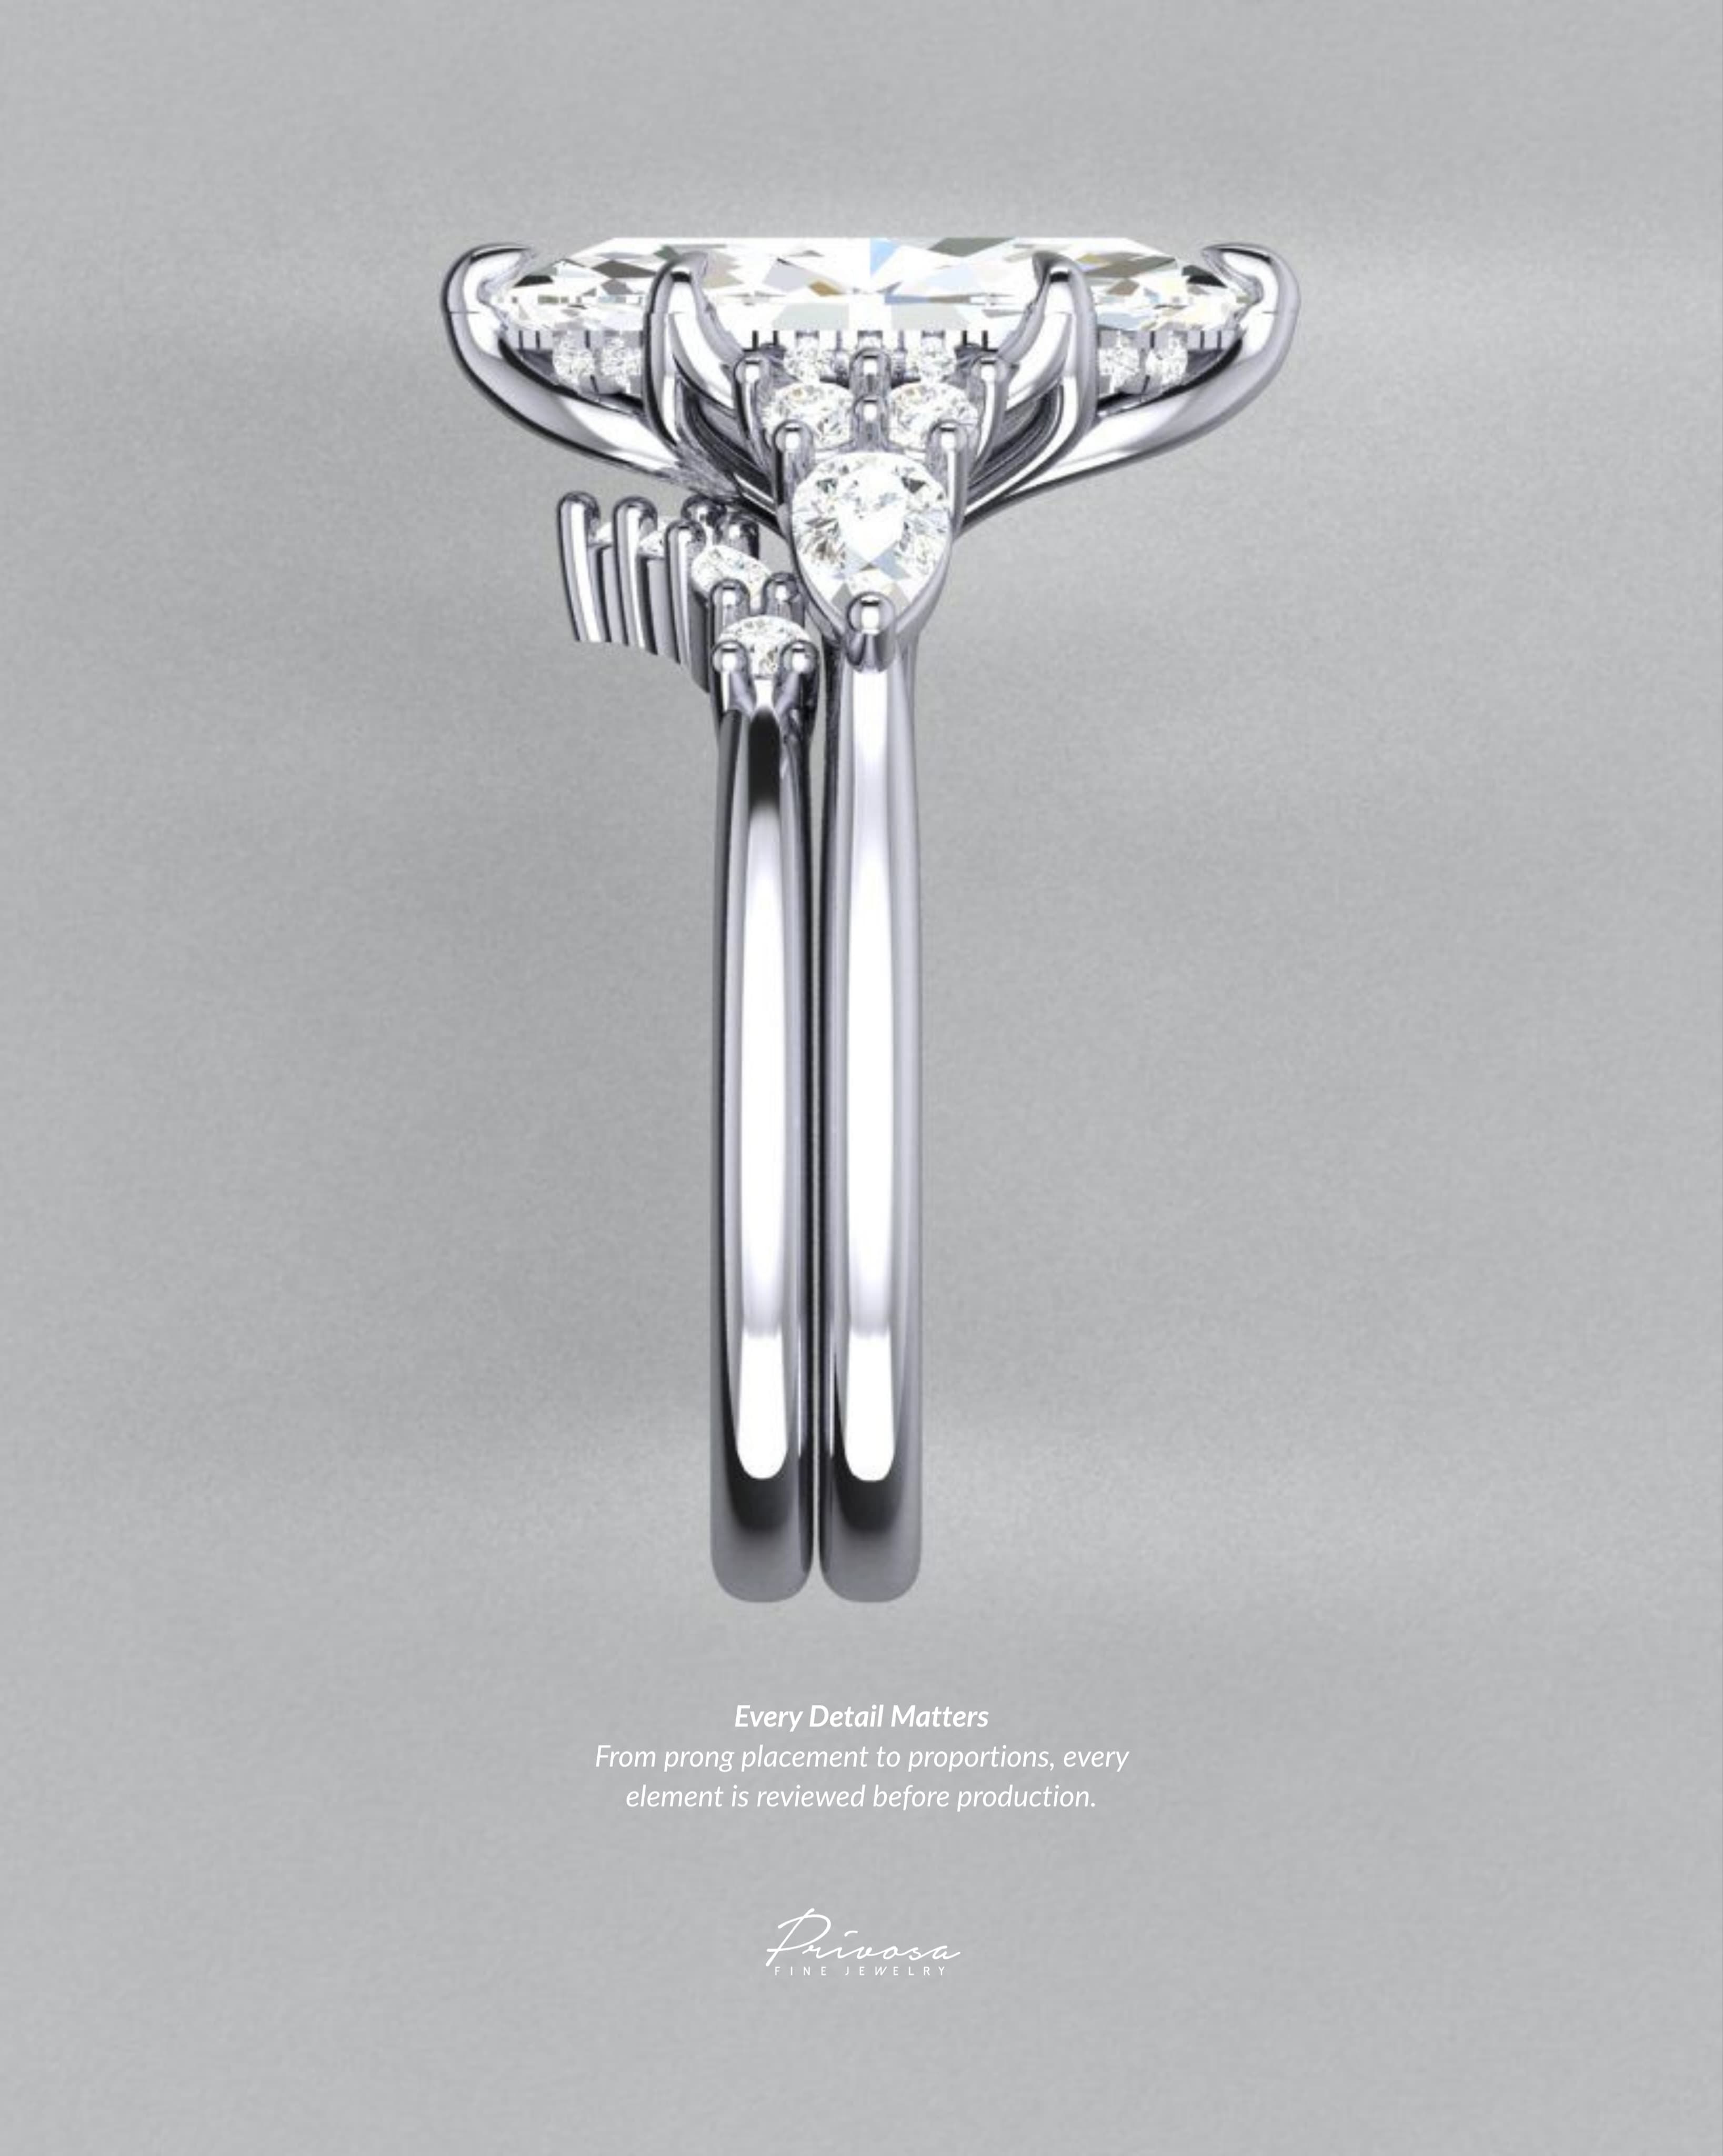
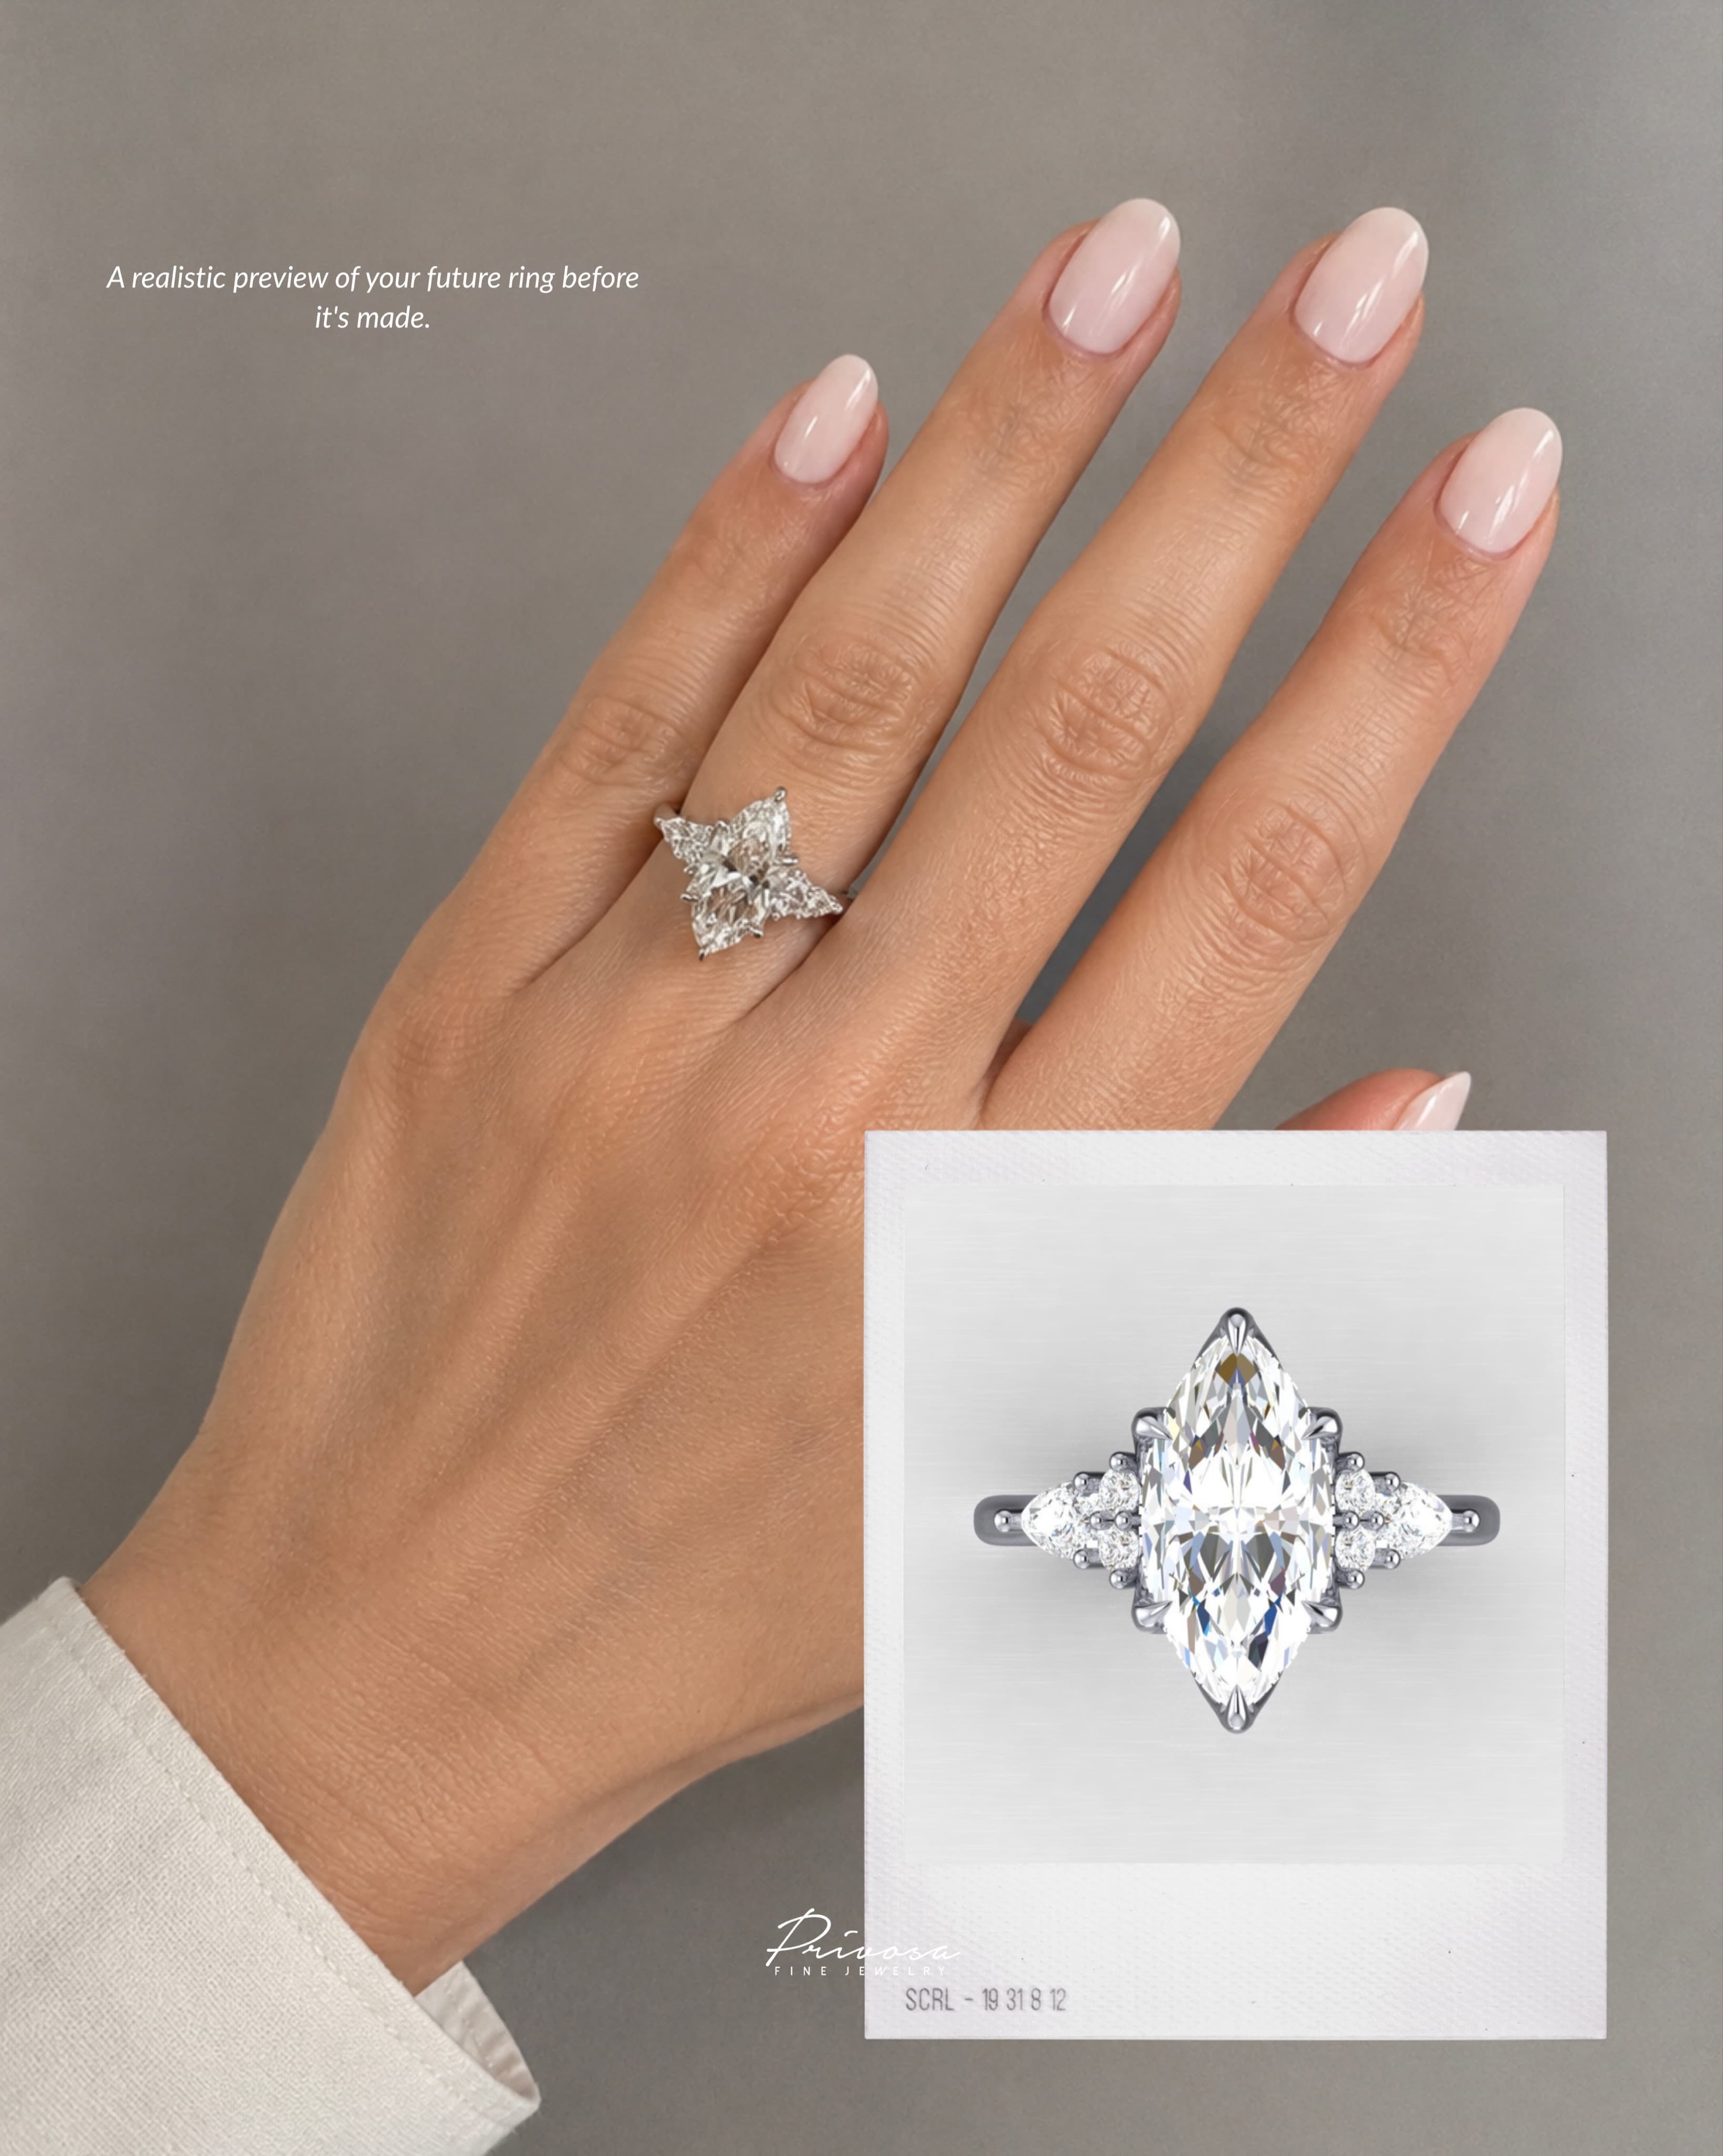
CAD stands for computer-aided design. A jeweler builds your ring inside modeling software as a precise virtual object — the band, the setting, the gallery beneath the stone, and the exact seats the diamonds will sit in. Because it is built to real dimensions, the rendering shows proportion honestly: how tall the setting rides, how wide the band reads on the finger, and how the center stone relates to any accents around it.
The value of seeing this before production is simple. A rendering can be rotated, enlarged, and revised freely; a finished ring cannot. Refinements that would be difficult or costly once metal is poured — narrowing a band, lowering a setting, adjusting prong placement — are a matter of editing a file at this stage.
- Proportion — whether the center stone, band width, and setting height feel balanced on the hand, not just on the screen.
- Profile — how high the ring sits, which affects both how it catches light and how it lives under gloves, sleeves, and daily wear.
- Prong and gallery detail — where the metal touches the diamond, and how much of the stone is left open to light.
- Symmetry and spacing — even placement of any accent stones, easiest to correct before casting rather than after.
From approved design to finished ring
Approving the CAD file locks the design, so the workshop can build exactly what you saw on screen. From there the process is a sequence of established goldsmithing steps, most of them done by hand.
The stages, in order
- CAD approval
- The virtual model is signed off. It becomes the blueprint that every later step follows.
- Casting
- The model is printed in wax or resin, encased, and burned out, and molten gold is cast into the cavity it leaves — the centuries-old lost-wax method, now driven by a digital pattern.
- Hand-setting
- A setter secures each diamond into its seat by hand, working metal over or around the stone so it sits level, straight, and firm.
- Polishing
- The cast metal is filed, pre-polished, and brought to a final shine, removing casting texture and revealing the gold's true color.
- Quality inspection
- The finished ring is checked — stones tight and aligned, prongs even, no sharp edges, correct finger size — before it is released.
Ways a diamond is set by hand
Hand-setting is where a ring is made secure and where much of its character comes from. The setting is simply how the metal holds the stone, and a few styles account for most rings. They are worth knowing because they change how the diamond looks and how the ring wears.
Common setting styles
- Prong
- Slender metal claws grip the stone at its edges. Lets in the most light, so the diamond looks large and bright; the trade-off is a slightly higher profile.
- Bezel
- A rim of metal wraps the girdle of the stone. The most protective and lowest-profile setting, well suited to active hands, with a clean modern line.
- Pave
- Small accent diamonds set close together with tiny beads of metal, paving the band with light around a center stone.
- Channel
- Stones set in a row between two walls of metal, flush and snag-free — a durable choice for wedding and eternity bands.
- Halo
- A ring of small diamonds encircles the center stone, adding apparent size and extra sparkle to the piece.
Frequently asked
What is a CAD rendering, and why does it come before the ring is made?+
CAD (computer-aided design) is a precise 3D model of your ring built in software before any metal is cast. Because it is built to real dimensions, you can rotate it, view every angle, and refine details such as band width, setting height, and prong placement while changes are still easy and free. It is the surest way to know what you are getting before production begins.
Can I change the design after I see the CAD?+
Yes — that is the purpose of the stage. Revisions to a CAD file are straightforward, whereas altering a finished ring is difficult and costly. Most refinements happen here, and the design is only sent to the workshop once you approve it.
What does 'hand-set' mean?+
It means a trained setter secures each diamond into its seat by hand, working the metal over or around the stone so it sits level and holds firm, rather than stones being placed by machine. Hand-setting is what makes the stones secure and gives the finished ring much of its precision.